System Testing Results
Objective: Test the entire serverless system, including the web interface (served via CloudFront
StudentWebsiteDistribution), student data saving functionality (POST /students), viewing the student list (GET /students), sending notification emails via Amazon SES, and automatic backup from DynamoDBstudentDatato the S3 Bucketstudent-backup-20250706. Ensure the system works correctly from frontend to backend, notification emails, and automated backup.
Overview of Testing Results
- Web Interface:
- Distributed via CloudFront
StudentWebsiteDistribution(sections 7.1–7.3) from S3 Bucketstudent-management-website-2025(sections 6.1–6.4). - Uses Tailwind CSS (section 5) to display the student information form (
studentid,name,class,birthdate,email) and the data table. - Calls the
studentAPI (stageprod, section 4.8) with Invoke URL (e.g.,https://abc123.execute-api.us-east-1.amazonaws.com/prod) andStudentApiKey(section 4.2).
- Distributed via CloudFront
- Backend Functions:
- POST /students: Lambda function
insertStudentData(section 3.2) saves records to DynamoDBstudentDataand sends emails via SES. - GET /students: Lambda function
getStudentData(section 3.1) retrieves data from DynamoDB. - POST /backup: Lambda function
DynamoDBBackup(section 8.1) saves a JSON file to S3student-backup-20250706and sends notification emails. - Automated backup: EventBridge Rule
DailyDynamoDBBackup(section 8.2) triggersDynamoDBBackupdaily at 07:00 AM +07.
- POST /students: Lambda function
- System Integration:
- CORS configured (section 4.7) to support requests from CloudFront (e.g.,
https://d12345678.cloudfront.net). - IAM role
DynamoDBBackupRoleStudent(section 6.5) grants permissions for DynamoDB, S3, SES. - Notification emails sent via SES to students and admin (
no-reply@studentapp.com,admin@studentapp.com).
- CORS configured (section 4.7) to support requests from CloudFront (e.g.,
Prerequisites
You need to complete:
- Section 2.4: Create S3 Bucket
student-backup-20250706. - Sections 3.1–3.3: Create Lambda functions
getStudentData,insertStudentData,DynamoDBBackupwith roleDynamoDBBackupRoleStudent. - Sections 4.1–4.9: Create the
studentAPI,StudentApiKey,StudentUsagePlan, methods GET /students, POST /students, POST /backup, enable CORS, deploy theprodstage. - Section 5: Build the web interface (
index.html,styles.css,scripts.js). - Sections 6.1–6.5: Create S3 Buckets
student-management-website-2025,student-backup-20250706. - Sections 7.1–7.3: Create CloudFront
StudentWebsiteDistribution. - Sections 8.1–8.2: Configure Lambda
DynamoDBBackup, EventBridge RuleDailyDynamoDBBackup.
Ensure your AWS account has permissions fordynamodb:Scan,dynamodb:PutItem,s3:GetObject,s3:PutObject,ses:SendEmail, and the AWS region isus-east-1.
Detailed Actions
-
Access the Website via CloudFront Domain Name
- Open a browser (Chrome, Firefox) and enter the CloudFront URL (e.g.,
https://d12345678.cloudfront.net) from CloudFront > Distributions > StudentWebsiteDistribution (section 7.3). - Expected results:
- The web interface loads successfully, displaying the student information form (
studentid,name,class,birthdate,email) and the Save, View All Students buttons, styled with Tailwind CSS (section 5). - No JavaScript errors in Developer Tools > Console.

Figure 1: Access CloudFront URL.
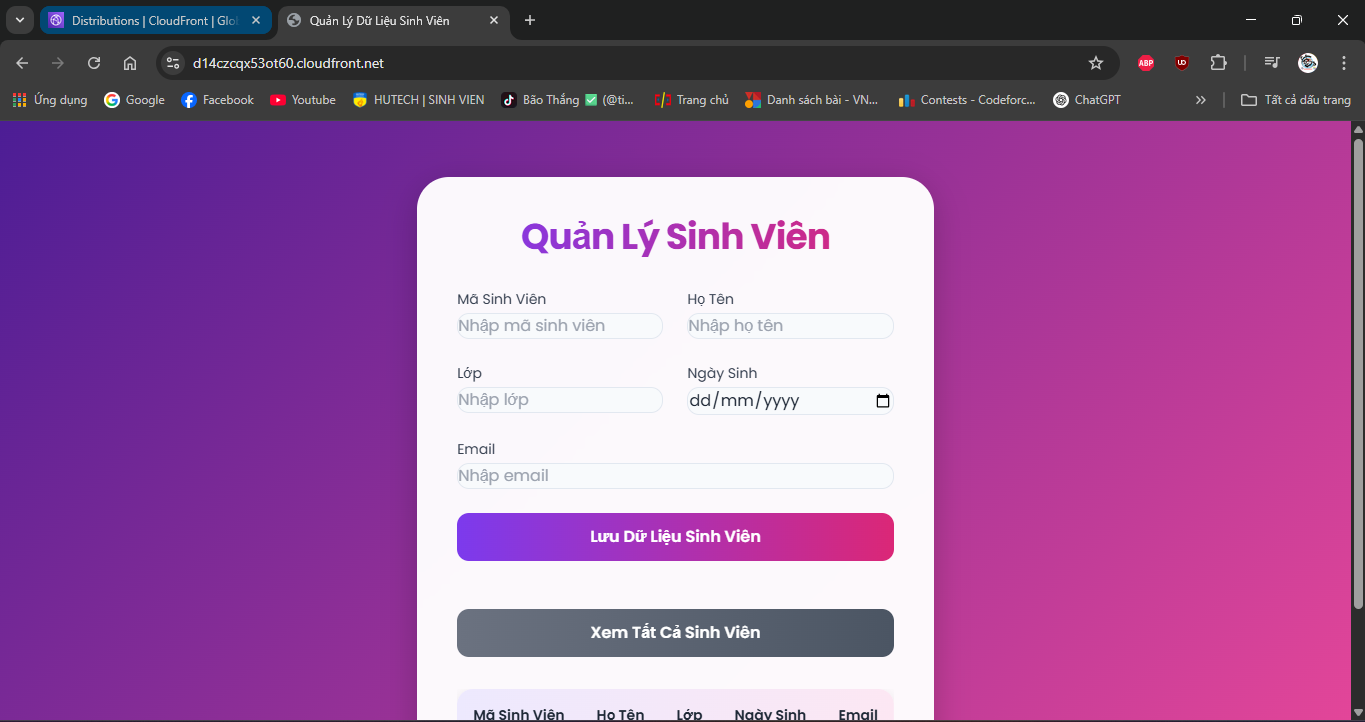
Figure 2: Website interface.
- The web interface loads successfully, displaying the student information form (
- Open a browser (Chrome, Firefox) and enter the CloudFront URL (e.g.,
-
Enter and Save Student Information
- In the web form, enter:
- Student ID (studentid):
SV006 - Name:
Nguyen Van F - Class:
CNTT06 - Birthdate:
2001-06-06 - Email:
student6@example.com
- Student ID (studentid):
- Click Save to send POST /students via API Gateway.
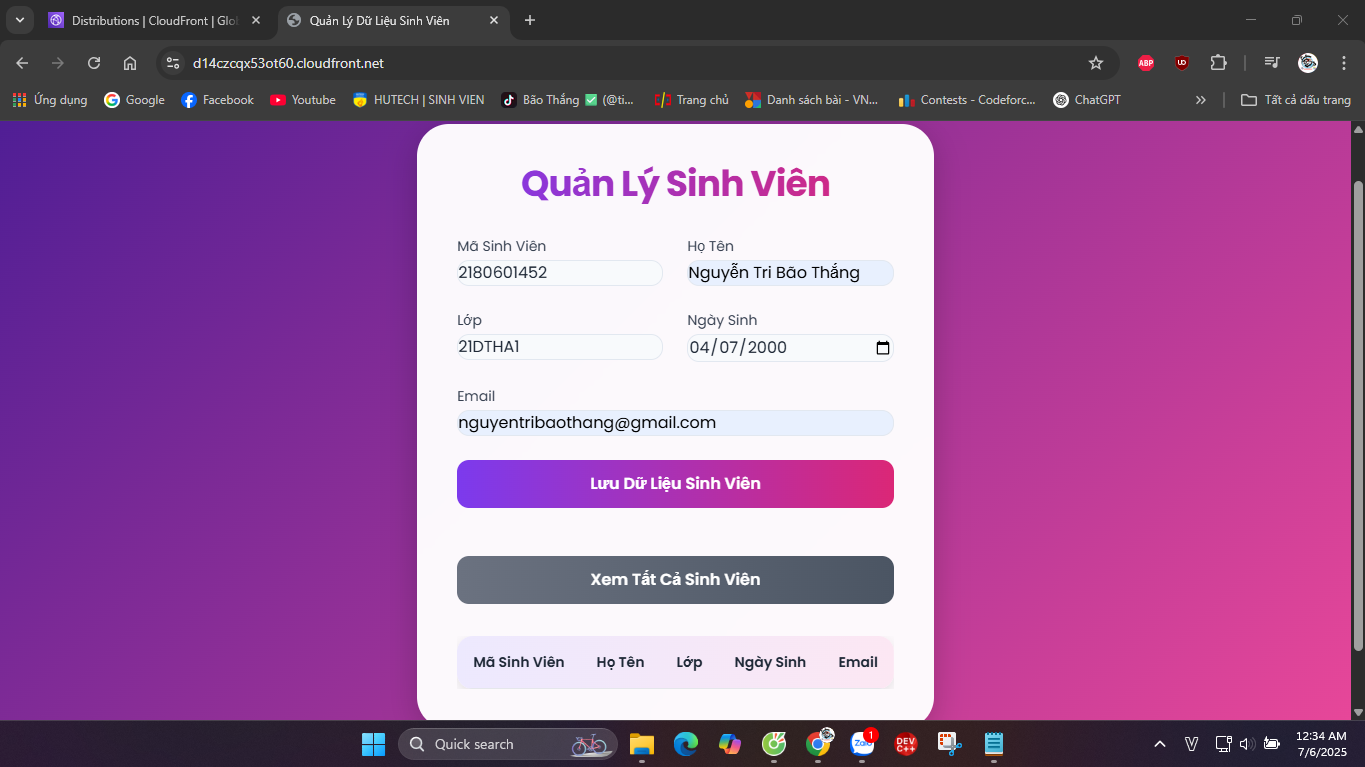
Figure 3: Student information form.
- In the web form, enter:
-
Confirm Successful Save Notification
- After clicking Save, the interface displays a “Save successful” notification (handled by
scripts.js). - Expected results:
- Notification is displayed (e.g., via
alert()or a Tailwind CSS-styled div). - The
insertStudentDatafunction returns:{ "statusCode": 200, "body": "{\"message\": \"Lưu thành công\"}" }
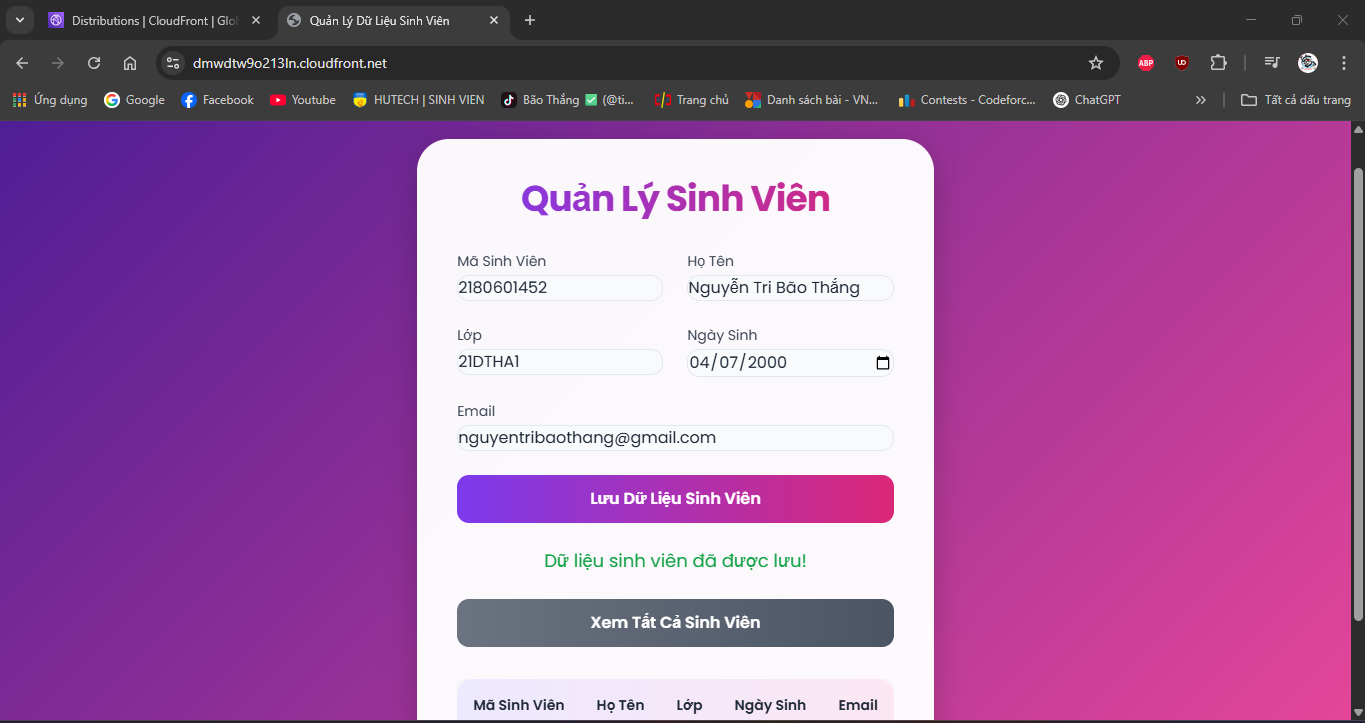
Figure 4: Save successful notification. - Notification is displayed (e.g., via
- After clicking Save, the interface displays a “Save successful” notification (handled by
-
View Student List
- Click View All Students to send GET /students.
- Expected results:
- The
getStudentDatafunction (section 3.1) retrieves data fromstudentData. - The interface displays a table containing the newly entered record (
SV006) and other records, with fields:studentid,name,class,birthdate,email.
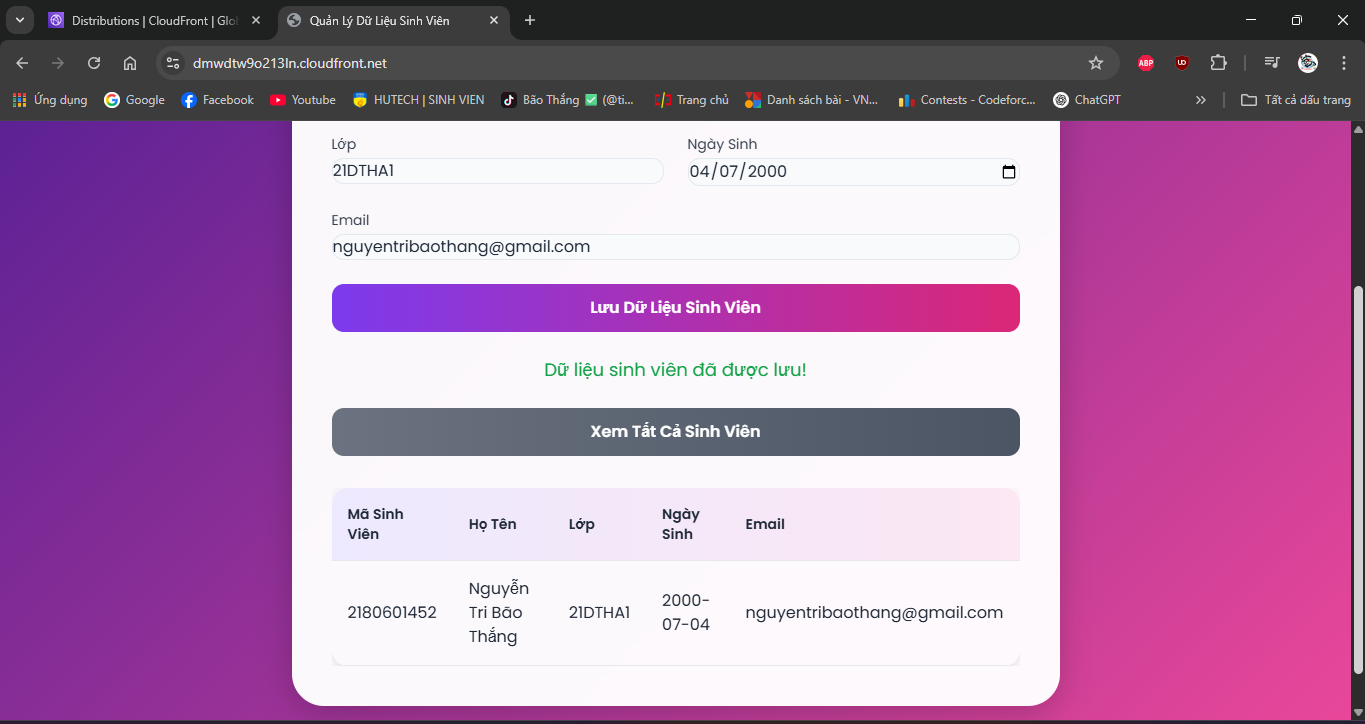
Figure 5: Student list table.
- The
-
Check Student Notification Email
- Open the inbox of
student6@example.comto check the email from SES. - Expected results:
- Email from
no-reply@studentapp.comwith:- Subject: Student information has been saved
- Body:
Hello Nguyen Van F,
Your information has been successfully saved:
- Student ID: SV006
- Class: CNTT06
- Birthdate: 2001-06-06
- Email: student6@example.com
- Troubleshooting:
- Email not sent: Verify
no-reply@studentapp.com,student6@example.comin SES (section 3). - Check
ses:SendEmailpermission inDynamoDBBackupRoleStudent.
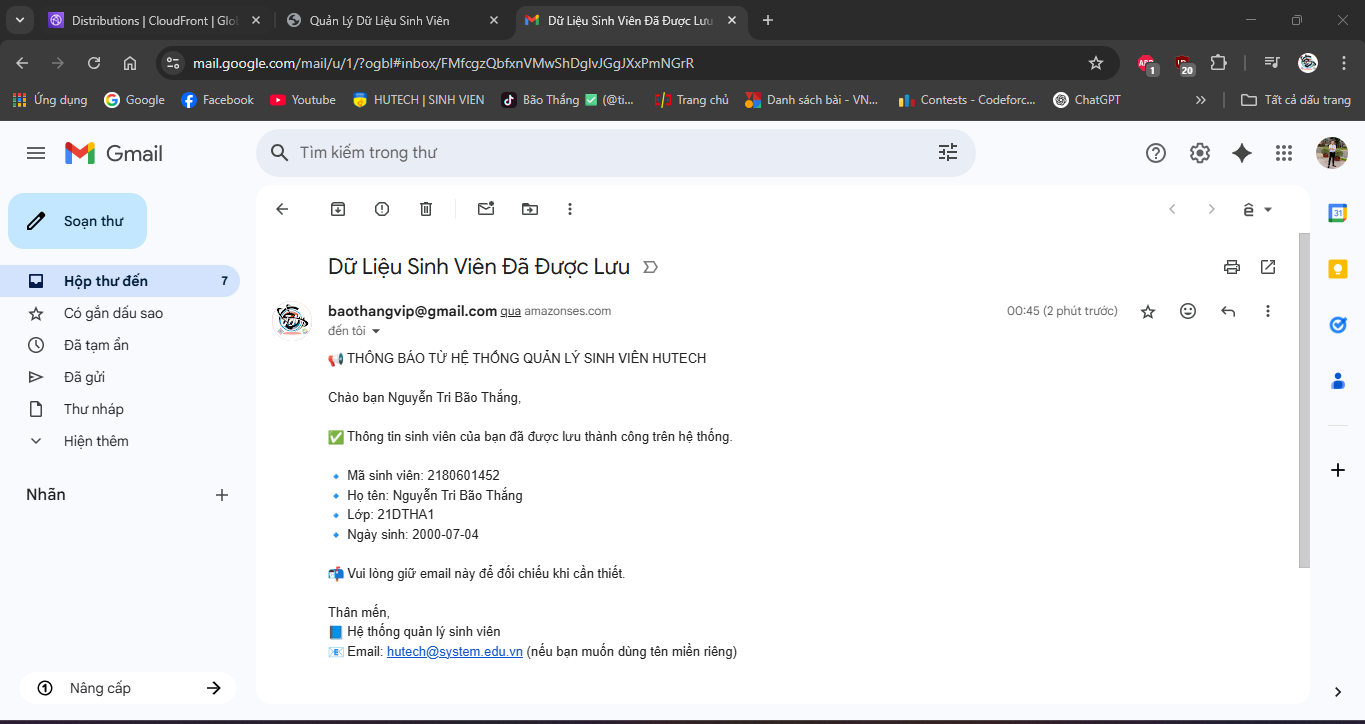
Figure 6: Student notification email.
- Email not sent: Verify
- Email from
- Open the inbox of
-
Check Data in DynamoDB
- In AWS Management Console, go to DynamoDB > Tables > studentData.
- Select Explore items to view the data.
- Expected results:
- New record:
{ "studentid": "SV006", "name": "Nguyen Van F", "class": "CNTT06", "birthdate": "2001-06-06", "email": "student6@example.com" } - Other records are displayed correctly.
- Troubleshooting:
- Record not found: Check
/aws/lambda/insertStudentDatalogs (section 10) ordynamodb:PutItempermission.
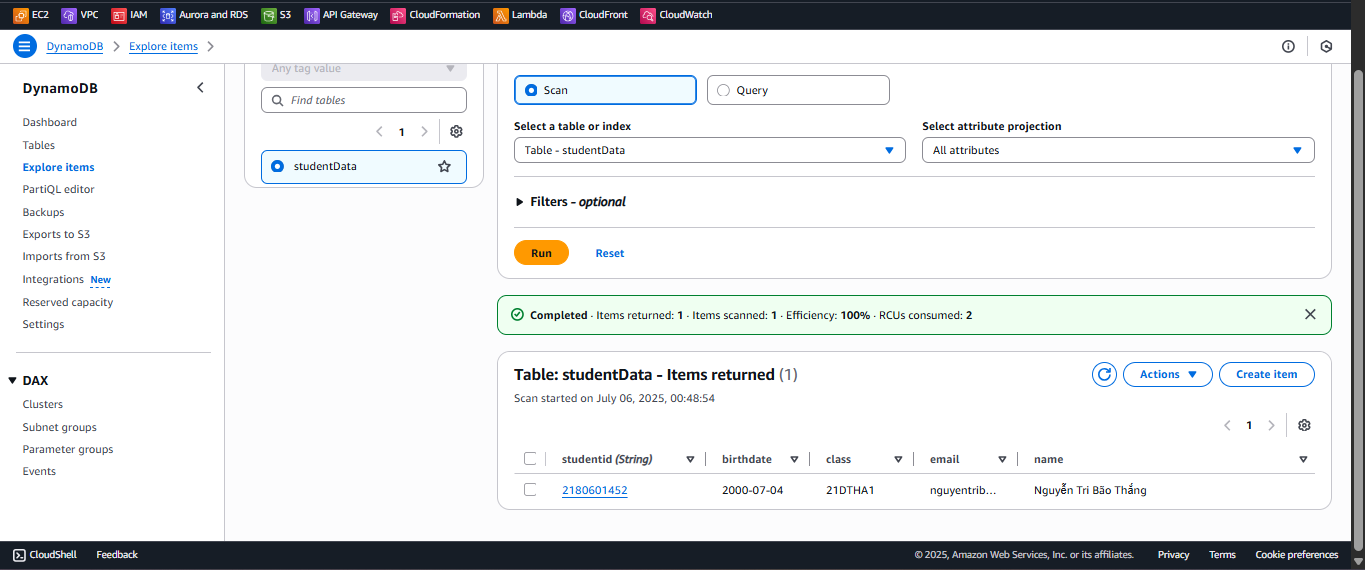
Figure 7: Data in DynamoDB.
- Record not found: Check
- New record:
-
Check Admin Backup Notification Email
- Open the inbox of
admin@studentapp.comto check the backup email from SES (sent byDynamoDBBackup, section 8.1). - Expected results:
- Email from
no-reply@studentapp.comwith:- Subject: Student Data Backup Completed
- Body: Backup created at backup/students-backup-20250709T0700.json in S3 bucket student-backup-20250706
- Email sent after
DynamoDBBackupruns (manually via POST /backup or automatically viaDailyDynamoDBBackupat 07:00 AM +07, section 8.2). - Troubleshooting:
- Email not sent: Verify SES email and
ses:SendEmailpermission. - Check
/aws/lambda/DynamoDBBackuplogs (section 10).
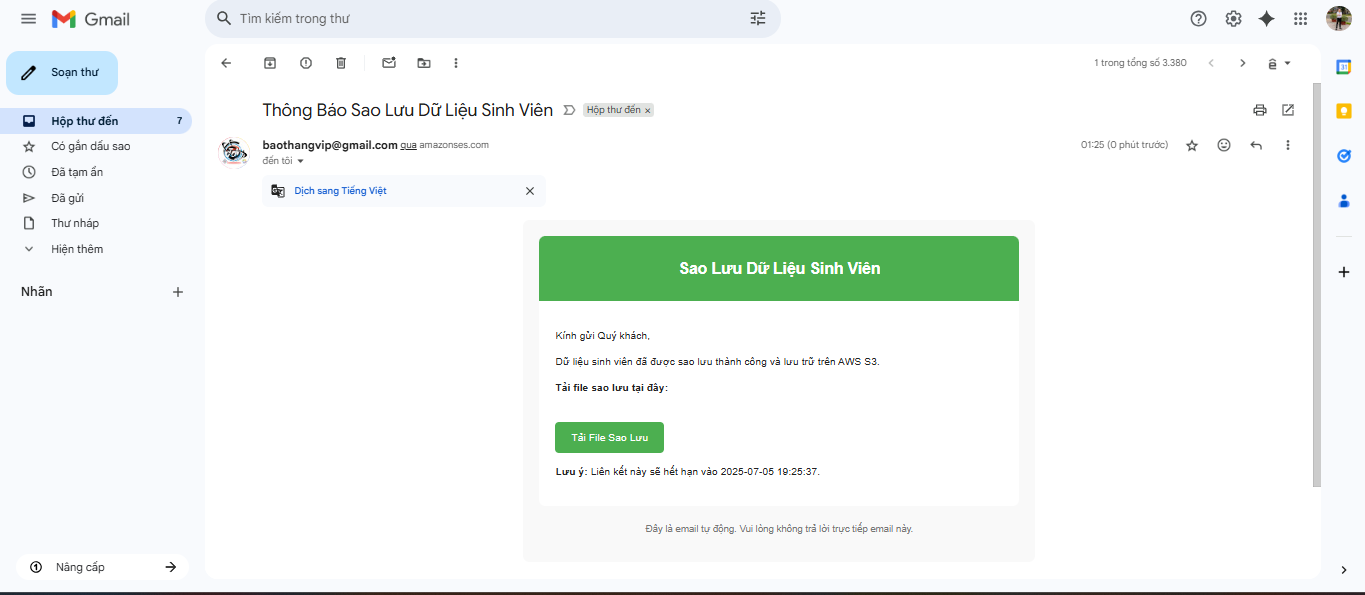
Figure 8: Backup notification email.
- Email not sent: Verify SES email and
- Email from
- Open the inbox of
-
Check Backup File in S3
- In AWS Management Console, go to S3 > Buckets > student-backup-20250706.
- Open the
backup/folder and check the JSON file (e.g.,students-backup-20250709T0700.json). - Expected results:
- The JSON file contains data from
studentData, including theSV006record. - Troubleshooting:
- File not found: Check
/aws/lambda/DynamoDBBackuplogs ors3:PutObjectpermission inDynamoDBBackupRoleStudent. - Verify
DailyDynamoDBBackup(section 8.2) runs on schedule.
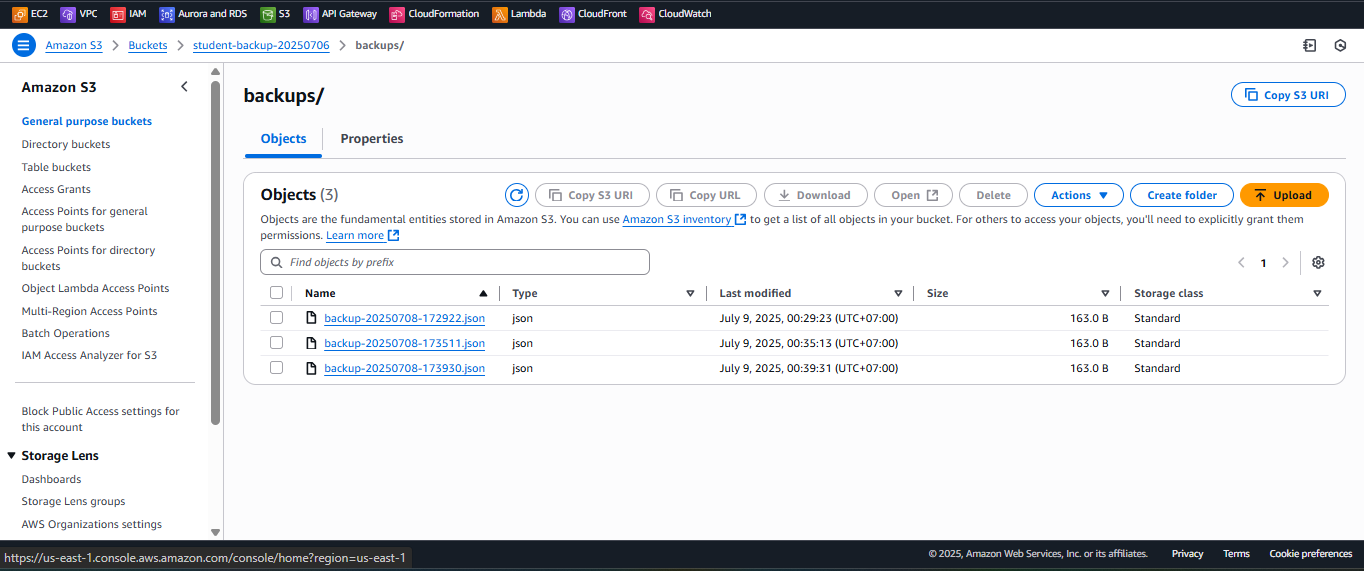
Figure 9: Backup file in S3.
- File not found: Check
- The JSON file contains data from
Important Notes
| Factor | Details |
|---|---|
| Security | - Do not embed StudentApiKey in scripts.js. Use CloudFront Functions: javascript <br> function handler(event) { <br> var request = event.request; <br> request.headers['x-api-key'] = { value: 'xxxxxxxxxxxxxxxxxxxx' }; <br> return request; <br> } <br> - Verify SES emails (no-reply@studentapp.com, admin@studentapp.com, student6@example.com). |
| Optimization | - Check CloudWatch Logs (section 10) for performance analysis. - Use AWS CLI to test API: bash <br> aws apigateway test-invoke-method --rest-api-id abc123 --resource-id xxxxx --http-method POST --path-with-query-string /students --body '{"studentid":"SV006","name":"Nguyen Van F","class":"CNTT06","birthdate":"2001-06-06","email":"student6@example.com"}' <br> |
| Integration | - Ensure CORS in API Gateway (section 4.7): Access-Control-Allow-Origin: https://d12345678.cloudfront.net. - Test all endpoints (POST /students, GET /students, POST /backup) via CloudFront URL. |
| Integration Testing | - Access https://d12345678.cloudfront.net: - POST /students: Save record, send SES email. - GET /students: Display table. - POST /backup: Create JSON file, send email. - Use Developer Tools > Network to inspect API requests. |
| Error Handling | - Interface error: Check index.html, scripts.js in S3 student-management-website-2025. - API error: Check /aws/lambda/insertStudentData, /aws/lambda/getStudentData logs. - Backup error: Verify DailyDynamoDBBackup and /aws/lambda/DynamoDBBackup logs. - Email error: Check SES email and ses:SendEmail permission. |
Best practice tip: Test each function via the web interface. Check CloudWatch Logs (section 10) for debugging. Set S3 Lifecycle Rule for
student-backup-20250706to manage old files.
Conclusion
The serverless system works correctly: the web interface loads via CloudFront, POST /students saves data and sends emails, GET /students displays the list, POST /backup and DailyDynamoDBBackup create JSON files in S3, and notification emails are sent successfully. Everything is smoothly integrated with the student API and SES.
Next step: Go to View Activity Logs with CloudWatch for detailed analysis